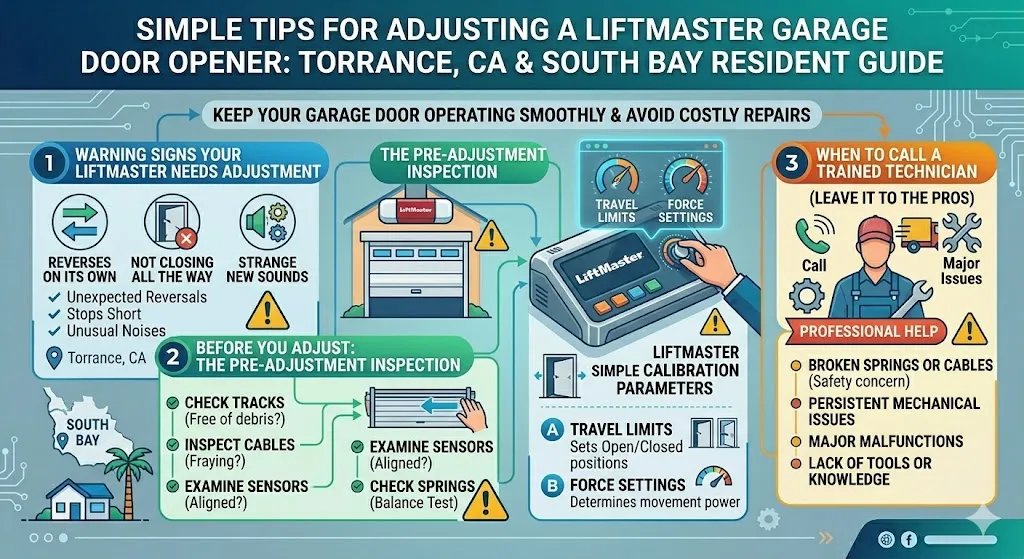
If your garage door is not closing all the way, reversing on its own, or making sounds it has never made before, the problem might be simpler than you think. Adjusting a garage door opener, especially a LiftMaster model, is something many homeowners can partially address on their own, but it still requires a clear understanding of what to inspect and what to leave to a professional.
This guide walks you through the most important things to check on your LiftMaster unit, what common warning signs point to an adjustment issue, and when calling a trained technician is the smarter move. Whether you are a homeowner in Torrance, CA, or in the surrounding South Bay area, these practical tips can help you stay ahead of bigger, more costly problems before they catch you off guard.
Learn the Signs That Your LiftMaster Opener Needs an Adjustment
Before changing any settings or touching any hardware, the first step is recognizing that something is actually off. Many homeowners assume their garage door opener is broken when all it needs is a proper adjustment.
Here are the most common signs to watch for:
- The door does not fully open or close and stops halfway through the cycle
- The opener reverses the door before it touches the ground
- The door moves unevenly, jerks, or shudders during operation
- The motor continues running after the door has already closed
- The remote or wall button becomes unresponsive, even with fresh batteries
- The opener produces a grinding or straining noise during normal use
These are all signals that your LiftMaster may need a travel limit or force setting adjustment. If you are unsure where to begin or want a broader understanding of the mechanics involved, reading through Mastering Garage Door Mechanics: How Do You Adjust a Garage Door Opener Effectively? is a great starting point before making any changes to your unit.
Do not ignore these signs. Small issues like these tend to escalate quickly and can lead to more expensive repairs or a complete opener failure at the worst possible time.
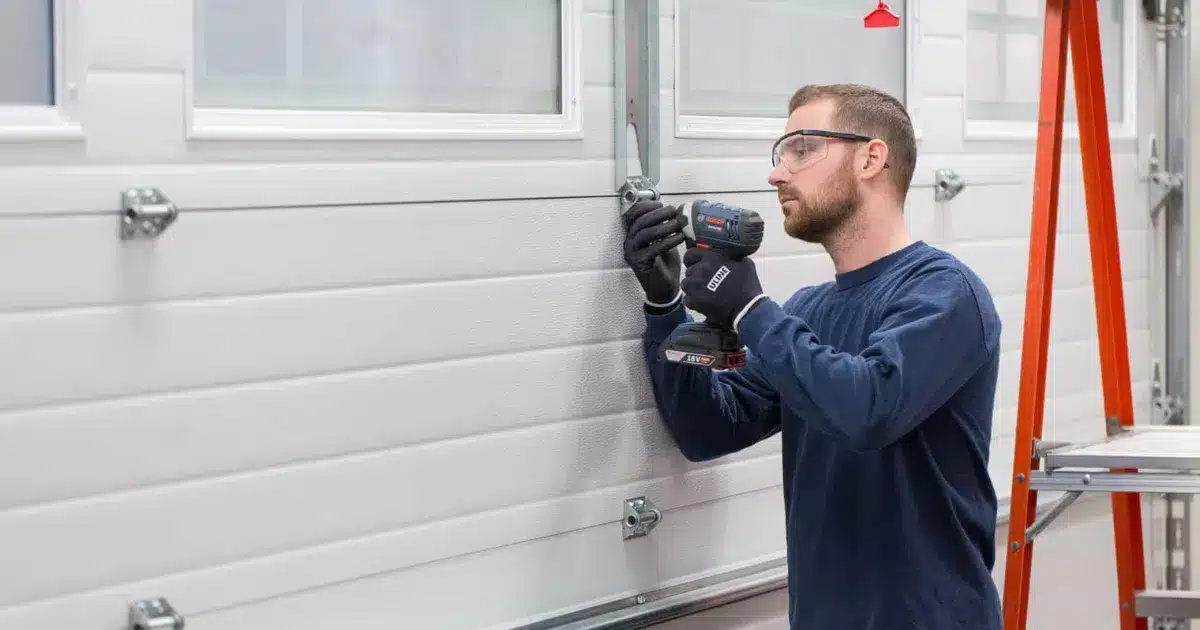
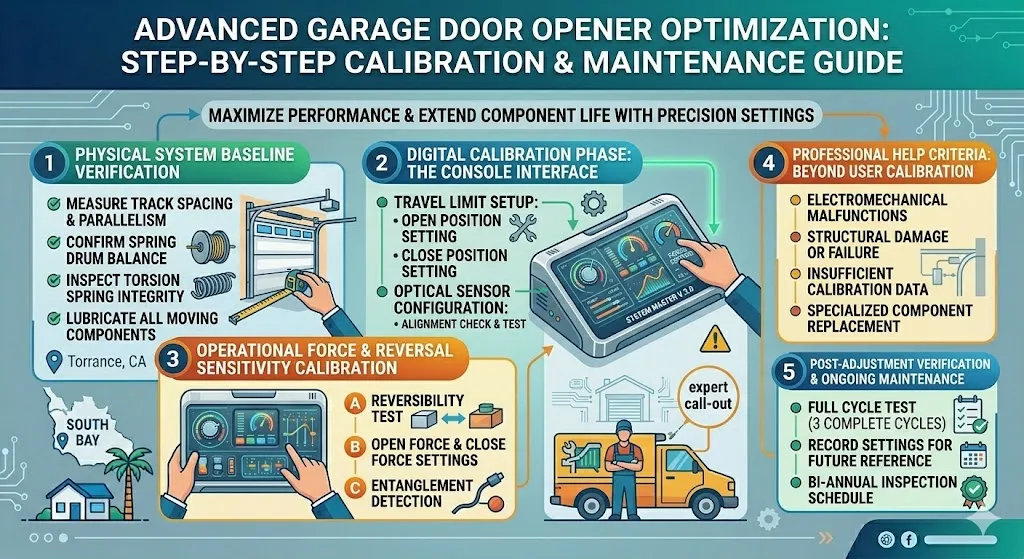
Understand the Travel Limit Settings on Your LiftMaster
Travel limits control how far your garage door travels during the open and close cycle. When these settings are off, the door might not reach the floor, or the motor might continue running after the door is already in position, which puts unnecessary strain on the unit.
What to Check
- Locate the travel limit adjustment knobs or buttons on your LiftMaster unit, usually labeled “Up” and “Down” or marked with arrows near the back of the motor head.
- Check whether the door stops too early or travels too far in either direction during a normal cycle.
- Make small adjustments in gradual increments rather than large changes all at once, and test after each adjustment.
Tips to Avoid the Problem
- Have your travel limits professionally inspected at least once a year, especially after seasonal temperature changes that can cause hardware to shift slightly.
- Avoid forcing the door open or closed manually while the opener is engaged, as this can throw off the calibration over time.
- Keep the area around the door tracks and floor clear of debris that could interfere with normal door travel and trigger an unexpected reversal.
If the motor continues running after the door reaches the ground, the down-travel limit likely needs to be reduced. If the door reverses before it fully closes, the limit may need to be increased slightly.
Inspect the Force Settings to Keep Your Door Operating Safely
Force settings determine how much power the opener uses to move the door in both directions. Too much force can create a serious safety risk, while too little force means the door may struggle to open or close fully without triggering the auto-reverse function.
What to Check
- Place a flat 2×4 board under the center of the door before closing it to test the down force. If the door does not reverse upon contact with the board, the down force setting is too high and needs to be reduced.
- Inspect the door tracks and rollers for physical obstructions, dirt buildup, or worn hardware that may be causing extra resistance and throwing off the force calibration.
Tips to Avoid the Problem
- Keep the garage door tracks and rollers clean and free of dirt, grit, and debris that can create drag.
- Schedule routine maintenance checks so that force settings are reviewed and verified before they become a safety concern.
- Never adjust the force settings beyond the range the manufacturer recommends for your specific LiftMaster model, as this can void the warranty and create hazards.
Incorrect force settings are one of the leading causes of premature opener wear and unexpected door reversals. Getting them calibrated correctly protects both your door and anyone who uses it regularly.
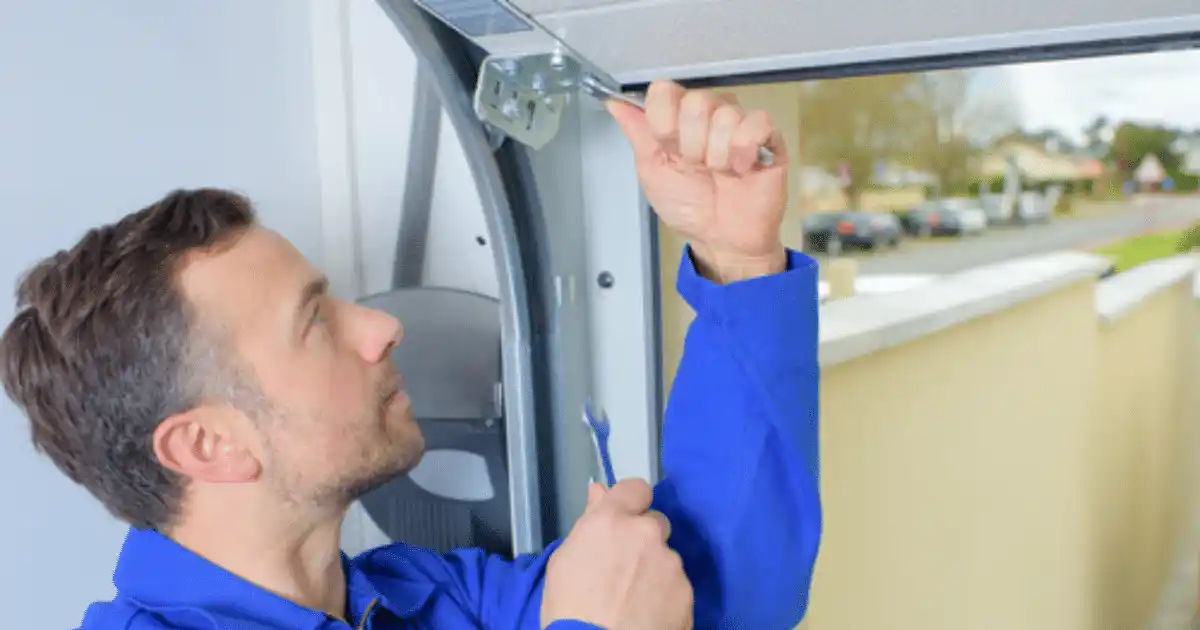
Check the Safety Sensor Alignment
LiftMaster garage door openers are equipped with photo-eye sensors mounted near the bottom of the door tracks on both sides. These sensors project an invisible beam across the opening, and if anything interrupts that beam, the door will not close. Misaligned sensors are one of the most frequent reasons a LiftMaster door keeps reversing without an obvious cause.
What to Check
- Inspect the small sensor units on both sides of the door, typically mounted about four to six inches off the ground on the vertical door tracks
- Check whether both indicator lights are solid and steady. A blinking or dim light usually signals that the sensors are misaligned, obstructed, or dirty.
- Clear away dust, cobwebs, or debris covering the sensor lenses, as even a light film can interrupt the beam.
Tips to Avoid the Problem
- Wipe the sensor lenses monthly using a soft, dry cloth to prevent buildup from interfering with the signal.
- Avoid placing storage items, tools, or containers near the sensors where they could accidentally block the beam
- If the sensors are knocked out of alignment from regular use or accidental bumping, gently reposition the bracket until both indicator lights are solid and stable.
Garage door safety sensor issues are frequently mistaken for mechanical failures, but in the majority of cases, a simple realignment or cleaning is all it takes to restore normal operation.
Lubricate the Moving Parts to Reduce Strain on the Opener
One of the most overlooked aspects of garage door care is proper lubrication. When moving parts are dry or worn, the opener is forced to work much harder to move the door, which puts added strain on the motor and can gradually throw off its adjustment settings.
What to Lubricate
- Rollers, especially steel rollers along the vertical and horizontal tracks (nylon rollers typically do not need lubrication)
- Hinges and pivot points running along the door panels
- The torsion spring with a light, even application
- The trolley rail on the opener itself keeps the carriage moving smoothly
Use a dedicated garage door lubricant spray or white lithium grease for best results. Avoid general-purpose sprays that attract dirt and can damage rubber seals or plastic components over time.
Based on LiftMaster’s official maintenance recommendations, regular lubrication is one of the most effective steps a homeowner can take to extend the life of their opener and reduce wear on its internal drive components.
Tips to Avoid the Problem
- Lubricate all moving parts every six months, or more frequently if your garage sees heavy daily use.
- After applying the lubricant, run the door through two or three full open and close cycles to distribute the product evenly across all contact points.
- Listen carefully after lubricating. If grinding or squeaking continues, it may indicate worn rollers, damaged hinges, or hardware that needs to be replaced rather than just lubricated.
Test the Door Balance Before Adjusting Anything
A garage door that is out of balance places excessive, uneven strain on the opener and can make any adjustment you attempt less effective or short-lived. Before adjusting your LiftMaster settings, always confirm the door itself is properly balanced.
How to Check the Balance
- Disconnect the opener by pulling the red emergency release cord hanging from the trolley.
- Manually lift the door to about waist height and slowly release it
- A properly balanced door will hold its position with minimal movement in either direction
If the door drops quickly to the floor or rises on its own toward the ceiling, the springs are out of balance or failing. This is not a safe repair for most homeowners, and the springs should be inspected and serviced by a trained technician.
According to DASMA’s garage door safety tips, spring systems are dangerous and should be repaired only by trained professionals with the proper tools and safety equipment.
Tips to Avoid the Problem
- Include a door balance test as part of every annual garage door maintenance visit, so problems are identified before they worsen.
- Watch for uneven gaps at the top corners of the door when it is in the closed position, as this is a common early sign of spring imbalance
- Never attempt to repair or replace torsion or extension springs without professional training and the appropriate tools.

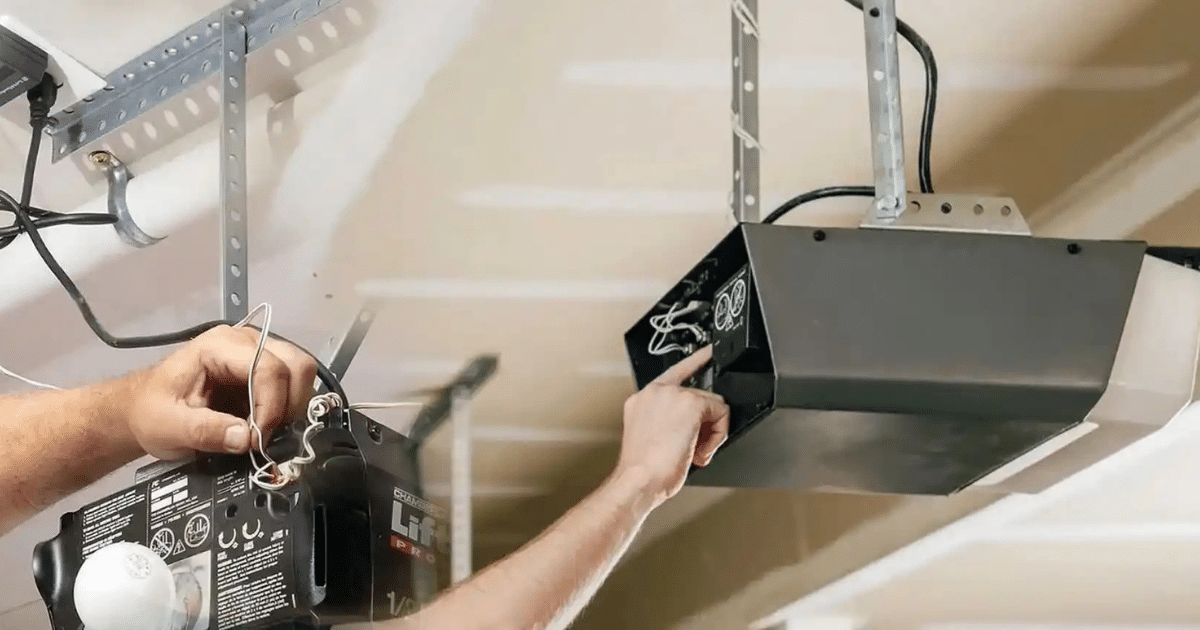
Reprogram or Reset the Remote and Wall Control Settings
Sometimes what appears to be a mechanical adjustment issue is actually a programming problem. If the remote is unresponsive or the door behaves inconsistently despite multiple adjustments, the remote or wall control may simply need to be reprogrammed rather than the opener settings changed.
What to Check
- Confirm the remote batteries are fresh and properly seated before assuming a programming issue is to blame
- Check whether the Learn button on the LiftMaster unit has been accidentally triggered, which can erase all previously stored remote and keypad codes.
- Test the wall control independently to see if it responds when the remote does not, as this helps narrow down whether the issue is with the remote or the opener’s receiver.
If your remote signal is consistently weak or your opener uses an older fixed-code system, upgrading to a rolling code remote may resolve recurring connectivity issues. For homeowners managing a different brand or looking for programming guidance on another system, Genie Garage Door Openers Programming: A Step-by-Step Guide covers the process in detail for Genie units.
Tips to Avoid the Problem
- Keep remotes away from extreme heat or cold exposure, such as leaving them in a hot car for extended periods, as temperature changes can affect battery performance and circuit function
- Avoid pressing the remote button repeatedly in rapid succession, which can sometimes cause the unit to temporarily lock out the signal.
- Store a backup remote or access code in a secure, accessible location in case the primary remote stops working unexpectedly.
Know When to Stop Adjusting and Call a Professional
Not every garage door opener issue is a do-it-yourself repair. There are specific situations where attempting to adjust the opener without the right tools or training can lead to damage, personal injury, or a problem that becomes far more expensive to repair.
Here are the situations where contacting a professional technician is the right call:
- The torsion or extension springs appear damaged, stretched, loose, or broken
- The opener motor produces grinding or straining noises that do not go away after lubrication
- The door is noticeably off-track, bent, or has damaged panels affecting the door’s alignment
- You have made multiple adjustments, and the same problem keeps returning within a short period
- The opener is more than 10 to 15 years old and showing consistent, recurring performance issues
Pushing through a repair that is outside your skill level rarely saves time or money in the end. A trained technician can identify the root cause accurately and complete the right adjustment the first time, without creating new problems in the process.
Keep Your Garage Door Reliable All Year Long
Staying on top of garage door opener maintenance does not require a lot of time or specialized knowledge. Most of the tips in this guide come down to regular inspection, proper lubrication, and having the judgment to know when something is beyond a simple homeowner adjustment. Homeowners in Torrance, CA who stay proactive about these checks tend to avoid the sudden breakdowns and costly emergency repairs that always seem to happen at the worst possible moment.
When the job goes beyond a quick tune-up or the problem keeps coming back, having a reliable local team makes all the difference. G & G Garage Door serves Torrance homeowners with professional garage door adjustments, safety inspections, and full-service repairs. Whether your LiftMaster needs a quick calibration or a thorough service check, our experienced technicians are ready to get it running right. Contact us or give us a call to schedule your consultation today.