


Your garage door opener works hard every single day. It lifts a heavy door, holds it in place, and brings it back down, all within seconds. Most homeowners don’t think about what makes that possible until something goes wrong. But when one part starts to fail, the whole system feels it.
Understanding the parts of a garage door opener is one of the smartest things you can do as a homeowner. It helps you catch small problems early, talk confidently with a technician, and make better decisions about repair versus replacement. This guide breaks down every major component, tells you what to watch for, and explains when it’s time to call someone in.
The Motor Unit: The Heart of Your Opener
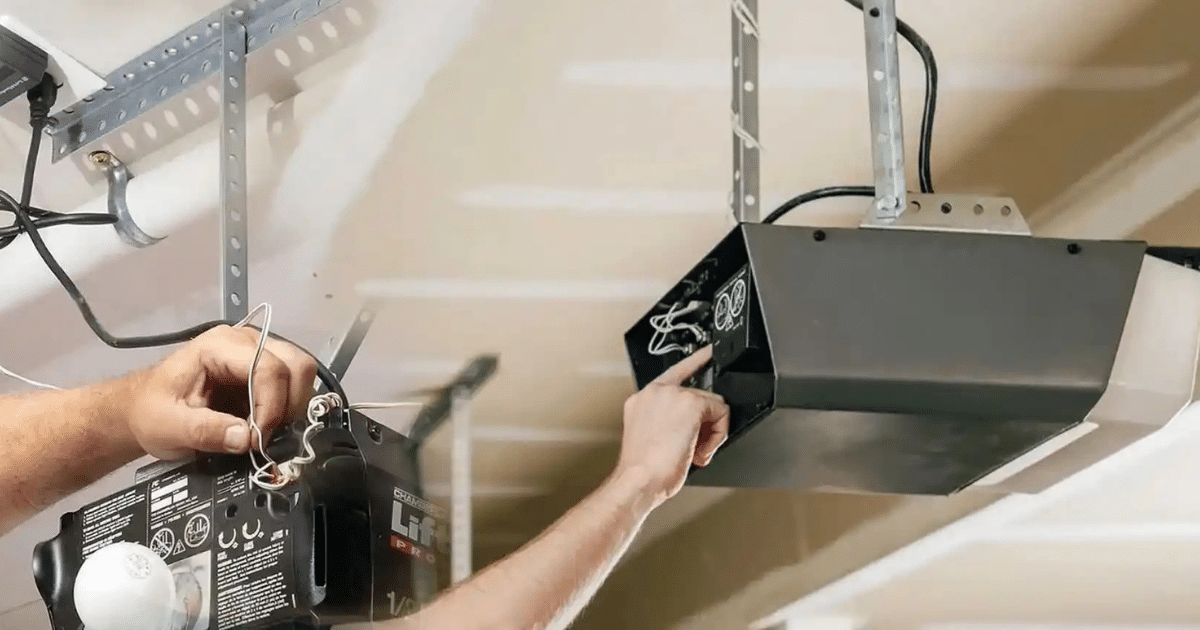
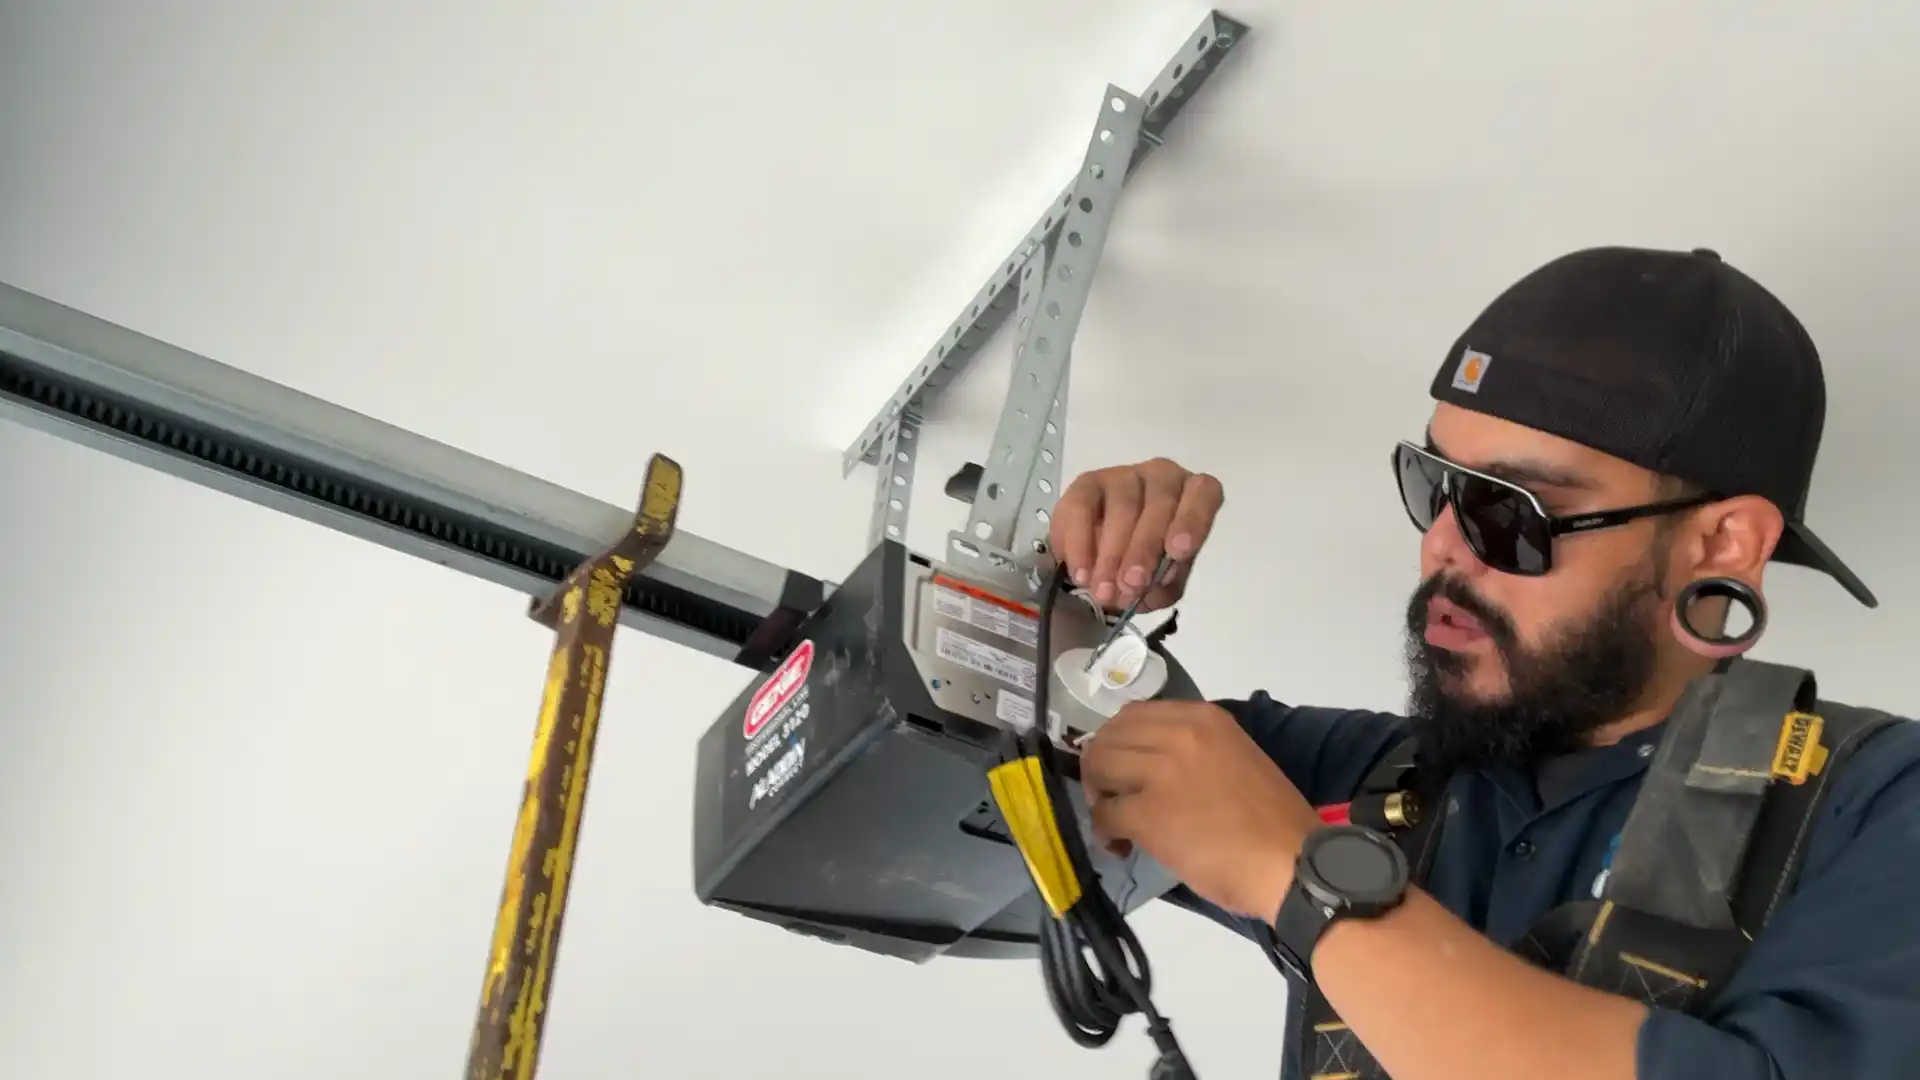
The motor unit is the main powerhouse of your garage door opener. It sits mounted on the ceiling of your garage and drives the entire system. When you press your remote or wall button, the motor is what springs into action.
Most residential openers use either a chain drive, belt drive, or screw drive motor. Each type has different noise levels, speeds, and maintenance needs. Belt drive motors tend to be the quietest, which matters a lot if your garage is attached to your home.
What to watch for
- Grinding or humming sounds when the door moves
- The motor runs but the door doesn’t move
- Unusual vibrations from the ceiling unit
- The opener works sometimes, but not consistently
If the motor is struggling, do not ignore it. A worn motor can strain the rest of the system and lead to more expensive damage. Have a technician inspect it before it fails completely.
Drive System Components: Chain, Belt, and Screw
The drive system is what physically moves your door along the track. It connects the motor to the trolley and pulls or pushes the door panel up and down. There are three main types used in residential openers, and understanding the Understanding Garage Door Opener Wires: A Complete Guide to Installation and Troubleshooting that powers them helps you keep the whole system in good shape.
Chain drive
This is the most common and most affordable type. It uses a metal chain, similar to a bicycle chain, to move the trolley. It’s durable but tends to be noisier than other options.
Belt drive
Instead of a chain, this system uses a rubber belt. It’s much quieter, which makes it a popular upgrade for attached garages. It does cost more upfront but requires less maintenance over time.
Screw drive
This type uses a threaded steel rod to move the trolley. It has fewer moving parts, so it’s generally low maintenance. However, it can be sensitive to temperature changes, which is something to consider in Southern California where temperature swings do happen.
What to watch for
- A chain that sags or slaps against the rail
- A belt that appears cracked, frayed, or stretched
- Jerky or uneven door movement
- Loud clunking during operation
The Trolley and Rail System: Guiding Every Move
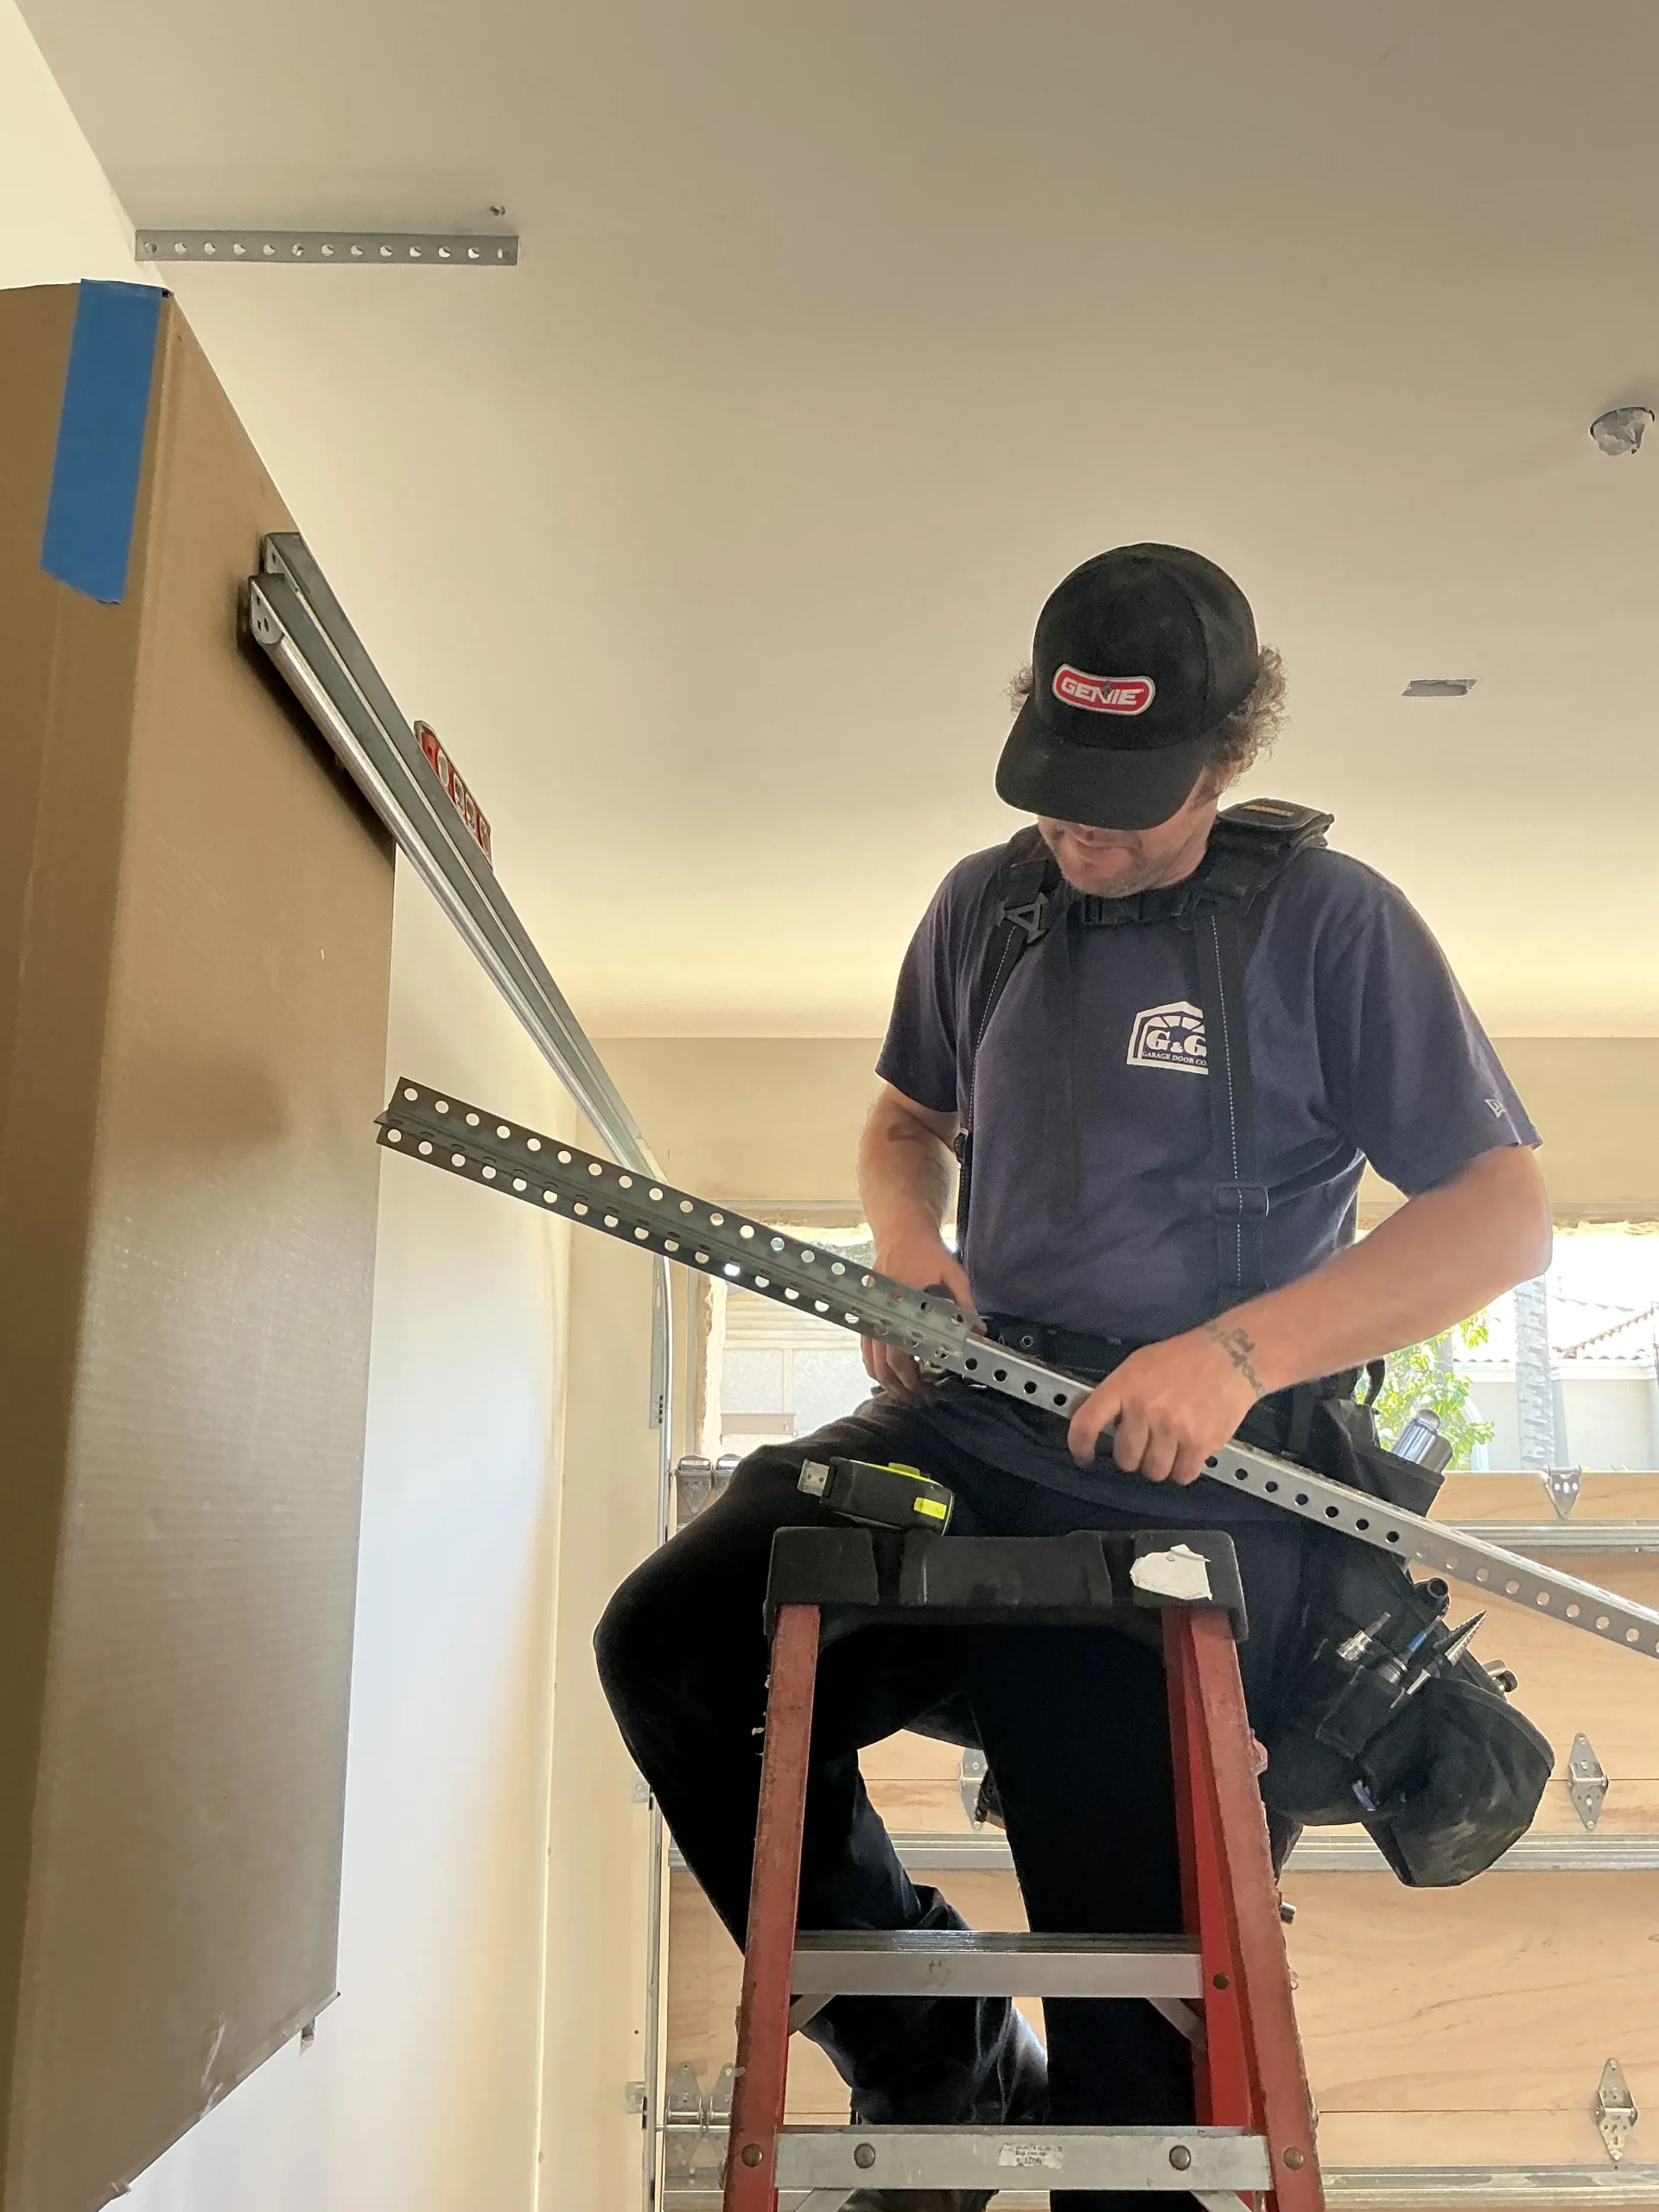
The trolley is the carriage that slides along the rail and connects the drive mechanism to your door. When your motor activates, the trolley moves along the rail and pulls the door open or pushes it closed.
The rail is the long metal track mounted to your ceiling. Together, the trolley and rail form the backbone of your opener’s movement system. If either is bent, misaligned, or worn, the door won’t travel smoothly.
What to watch for
- The door stops midway and reverses for no clear reason
- You can see the trolley sliding unevenly or wobbling
- The rail has visible bends or warping
- There is excessive noise that sounds like metal scraping
Applying a quality lubricant to the rail periodically helps reduce wear and keeps things moving smoothly. Avoid using WD-40 on these parts. Instead, use a white lithium grease or silicone-based lubricant designed for garage doors.
Safety Sensors: The Eyes of Your Garage Door
Safety sensors are two small devices mounted near the bottom of your garage door tracks, one on each side. They send an invisible beam across the opening. If anything breaks that beam while the door is closing, the door automatically reverses.
This is a required safety feature on all residential garage door openers manufactured after 1993, per federal law. The U.S. Consumer Product Safety Commission outlines these safety standards in detail.
What to watch for
- The door goes down a few inches, then reverses on its own
- The sensor indicator light is blinking or off
- One sensor light is green and the other is amber or off
- Visible misalignment of the sensor brackets
Before calling a technician, check if the sensors are simply dirty or knocked out of alignment. Wipe the lenses with a clean cloth and make sure both sensors face each other directly. If they are still not working after that, a professional inspection is the right next step.
Springs: Torsion and Extension
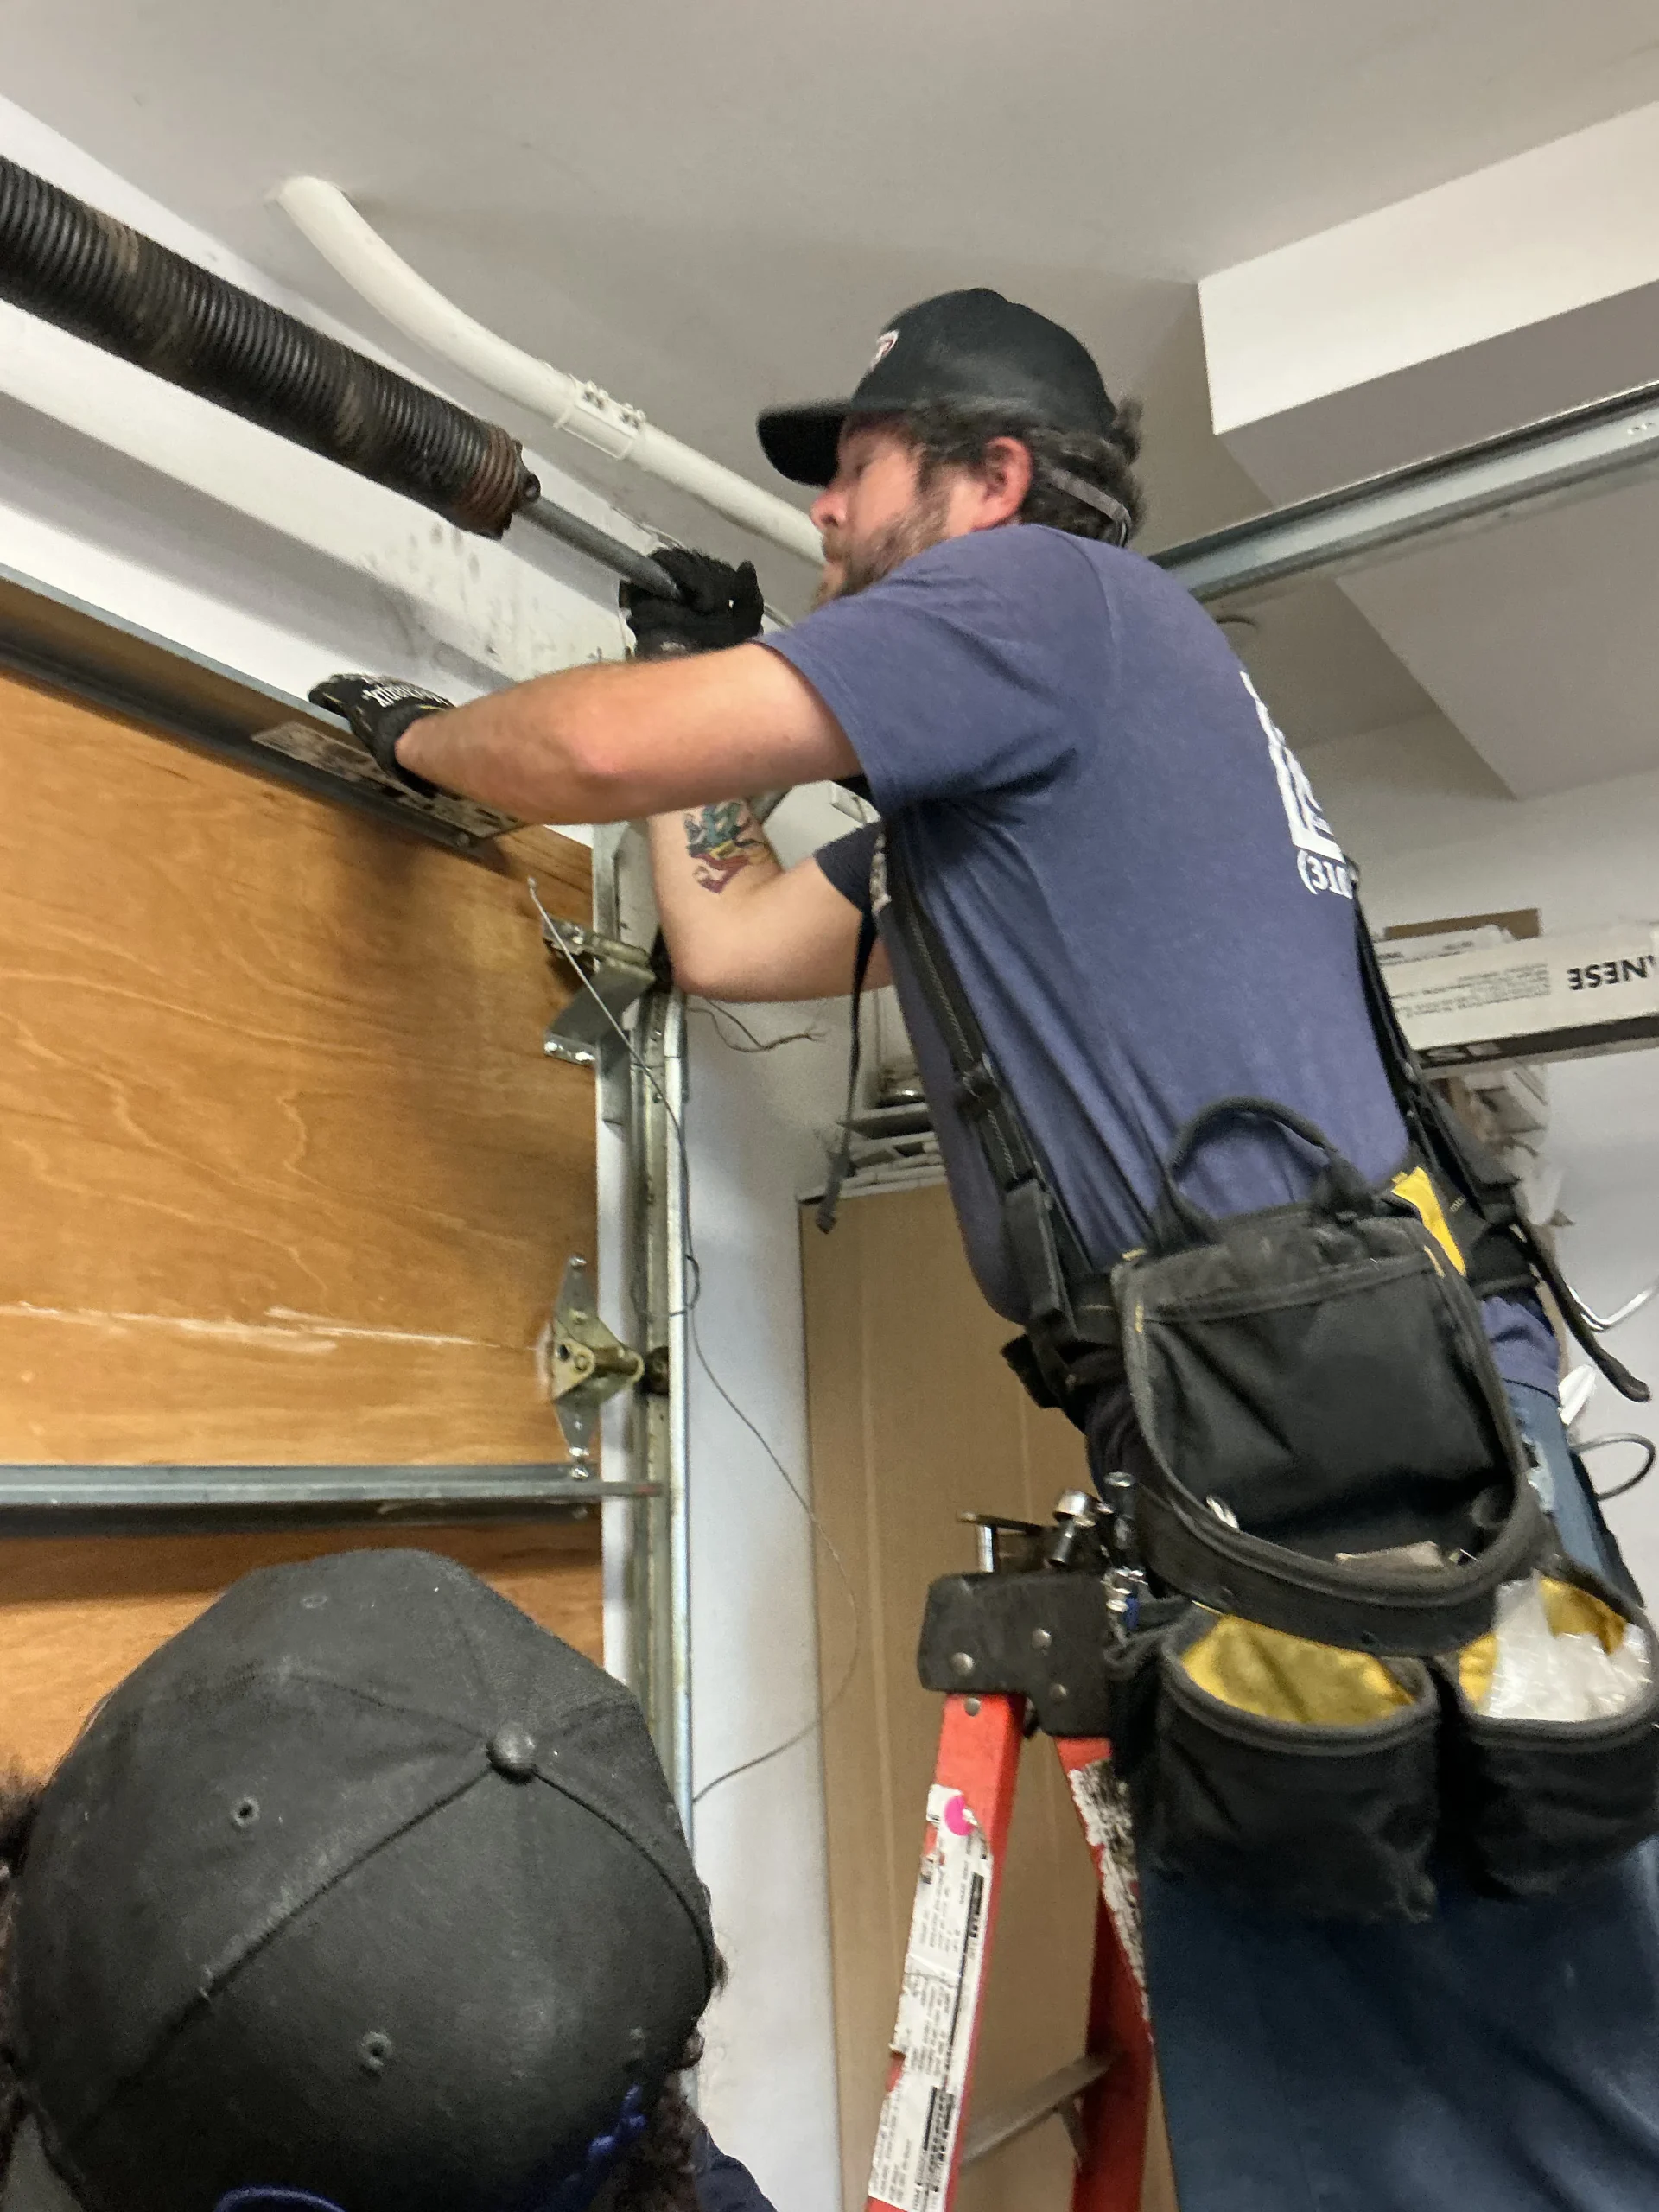
Garage door springs carry the full weight of your door. Without them, the motor would have to work much harder, and the door would be nearly impossible to lift manually. There are two main types used on residential doors.
Torsion springs
These mount horizontally above the door opening. They use torque to help lift the door. They tend to last longer and provide more balanced lifting than extension springs.
Extension springs
These mount on both sides of the door, above the horizontal tracks. They stretch and contract as the door opens and closes. They’re more common on older doors and lighter-weight panels.
What to watch for
- A loud bang from the garage, which often means a spring has snapped
- The door feels very heavy when lifted manually
- One side of the door rises higher than the other
- Visible gaps or separation in the spring coils
Garage door spring replacement is one of the most dangerous repairs in the garage door industry. The springs are under extreme tension. Do not attempt to replace them yourself. Always have a trained technician handle spring work.
Remotes and Keypads: Your Daily Controls
Your remote and keypad are the most touched parts of your opener system. Most homeowners use them multiple times a day without a second thought. When they stop working, it’s usually one of a few simple causes.
Dead or weak batteries are the most common culprit. Knowing how to do a proper A Comprehensive Guide on How to Change the Battery in Your Garage Door Opener for Torrance Homeowners can save you a service call and get your system working again in minutes.
What to watch for
- The remote only works when you’re very close to the door
- The keypad buttons feel unresponsive or sticky
- You have to press the button multiple times to get a response
- The opener works from the wall button, but not the remote
If new batteries don’t fix the issue, the remote may need to be reprogrammed. Check your opener manual for the pairing steps, or have a technician sync the remote for you.
The Logic Board: Your Opener’s Brain
The logic board is the circuit board inside the motor unit. It processes signals from your remote, keypad, and wall button, then tells the motor what to do. Think of it as the control center for your entire system.
Logic boards are sensitive to power surges, moisture, and age. A faulty board can cause random, confusing behavior that’s hard to diagnose without experience.
What to watch for
- The opener activates on its own without any input
- Remotes and keypads stop working even after reprogramming
- The opener responds to commands inconsistently
- The system resets frequently or loses programmed settings
According to This Old House’s guide on garage‑door opener replacement, logic‑board‑level repairs and opener work are best left to professionals because incorrect handling can damage the unit or create safety issues. A technician can also confirm whether a board‑level fix is worthwhile or if a full‑opener upgrade makes more financial sense.
Limit Switches and Travel Settings
Limit switches tell the opener exactly how far to travel when opening and closing. They define the stopping points for the door, so it doesn’t crash into the floor or slam into the opener unit on the ceiling.
On older openers, these are physical screws you adjust manually. On newer models, the travel settings are programmed electronically and can drift over time.
What to watch for
- The door opens fully but doesn’t stop, continuing to pull on the opener
- The door closes but doesn’t fully reach the floor
- The door reverses right before it closes completely
- The opener motor keeps running after the door stops
Wall Control Panel and Wiring
The wall control panel is the button you press inside your garage to operate the door. It’s hardwired to the motor unit and also commonly includes a light switch and sometimes a lock function.
The wiring behind your wall panel and throughout the opener system plays a bigger role than most homeowners realize. Damaged, corroded, or improperly connected wires can cause a wide range of issues that look like motor or sensor problems but are actually wiring faults.
What to watch for
- The wall button works, but the remote does not
- The light on the opener flickers or doesn’t come on
- There are visible wire breaks or frayed insulation
- The opener only works after you wiggle the wall panel
Maintenance Tips to Keep Parts Lasting Longer
Most garage door opener problems are preventable. A little routine attention goes a long way, especially in a coastal city like Torrance, CA, where salt air and humidity can accelerate wear on metal parts.
- Lubricate the rail, hinges, and rollers every six months using a silicone or white lithium lubricant
- Inspect the sensor alignment every few months and clean the lenses
- Test the manual release cord periodically to make sure it disengages properly
- Check the door balance by disconnecting the opener and lifting the door manually. It should stay in place at mid-height
- Listen for changes in sound during operation. New noises often mean something needs attention
- Replace remote batteries once a year, even if the remote still works
Staying consistent with these checks reduces the chance of a sudden failure and extends the life of your entire system.
Keep Your Garage Running Right With the Right Team
A garage door opener has more moving parts than most people expect, and each one plays a specific role in keeping your door safe, smooth, and reliable. Catching a worn spring, a misaligned sensor, or a failing logic board early can save you from a much bigger repair down the road. The information in this guide gives you the knowledge to spot the warning signs and take the right action at the right time.
When it comes time to repair or replace any part of your garage door opener, having a trusted local team makes all the difference. G & G Garage Door serves homeowners throughout Torrance and the surrounding areas with expert diagnosis, quality parts, and honest service. Whether you have a quick question or need a full system inspection, give us a call or contact us today to schedule your service.