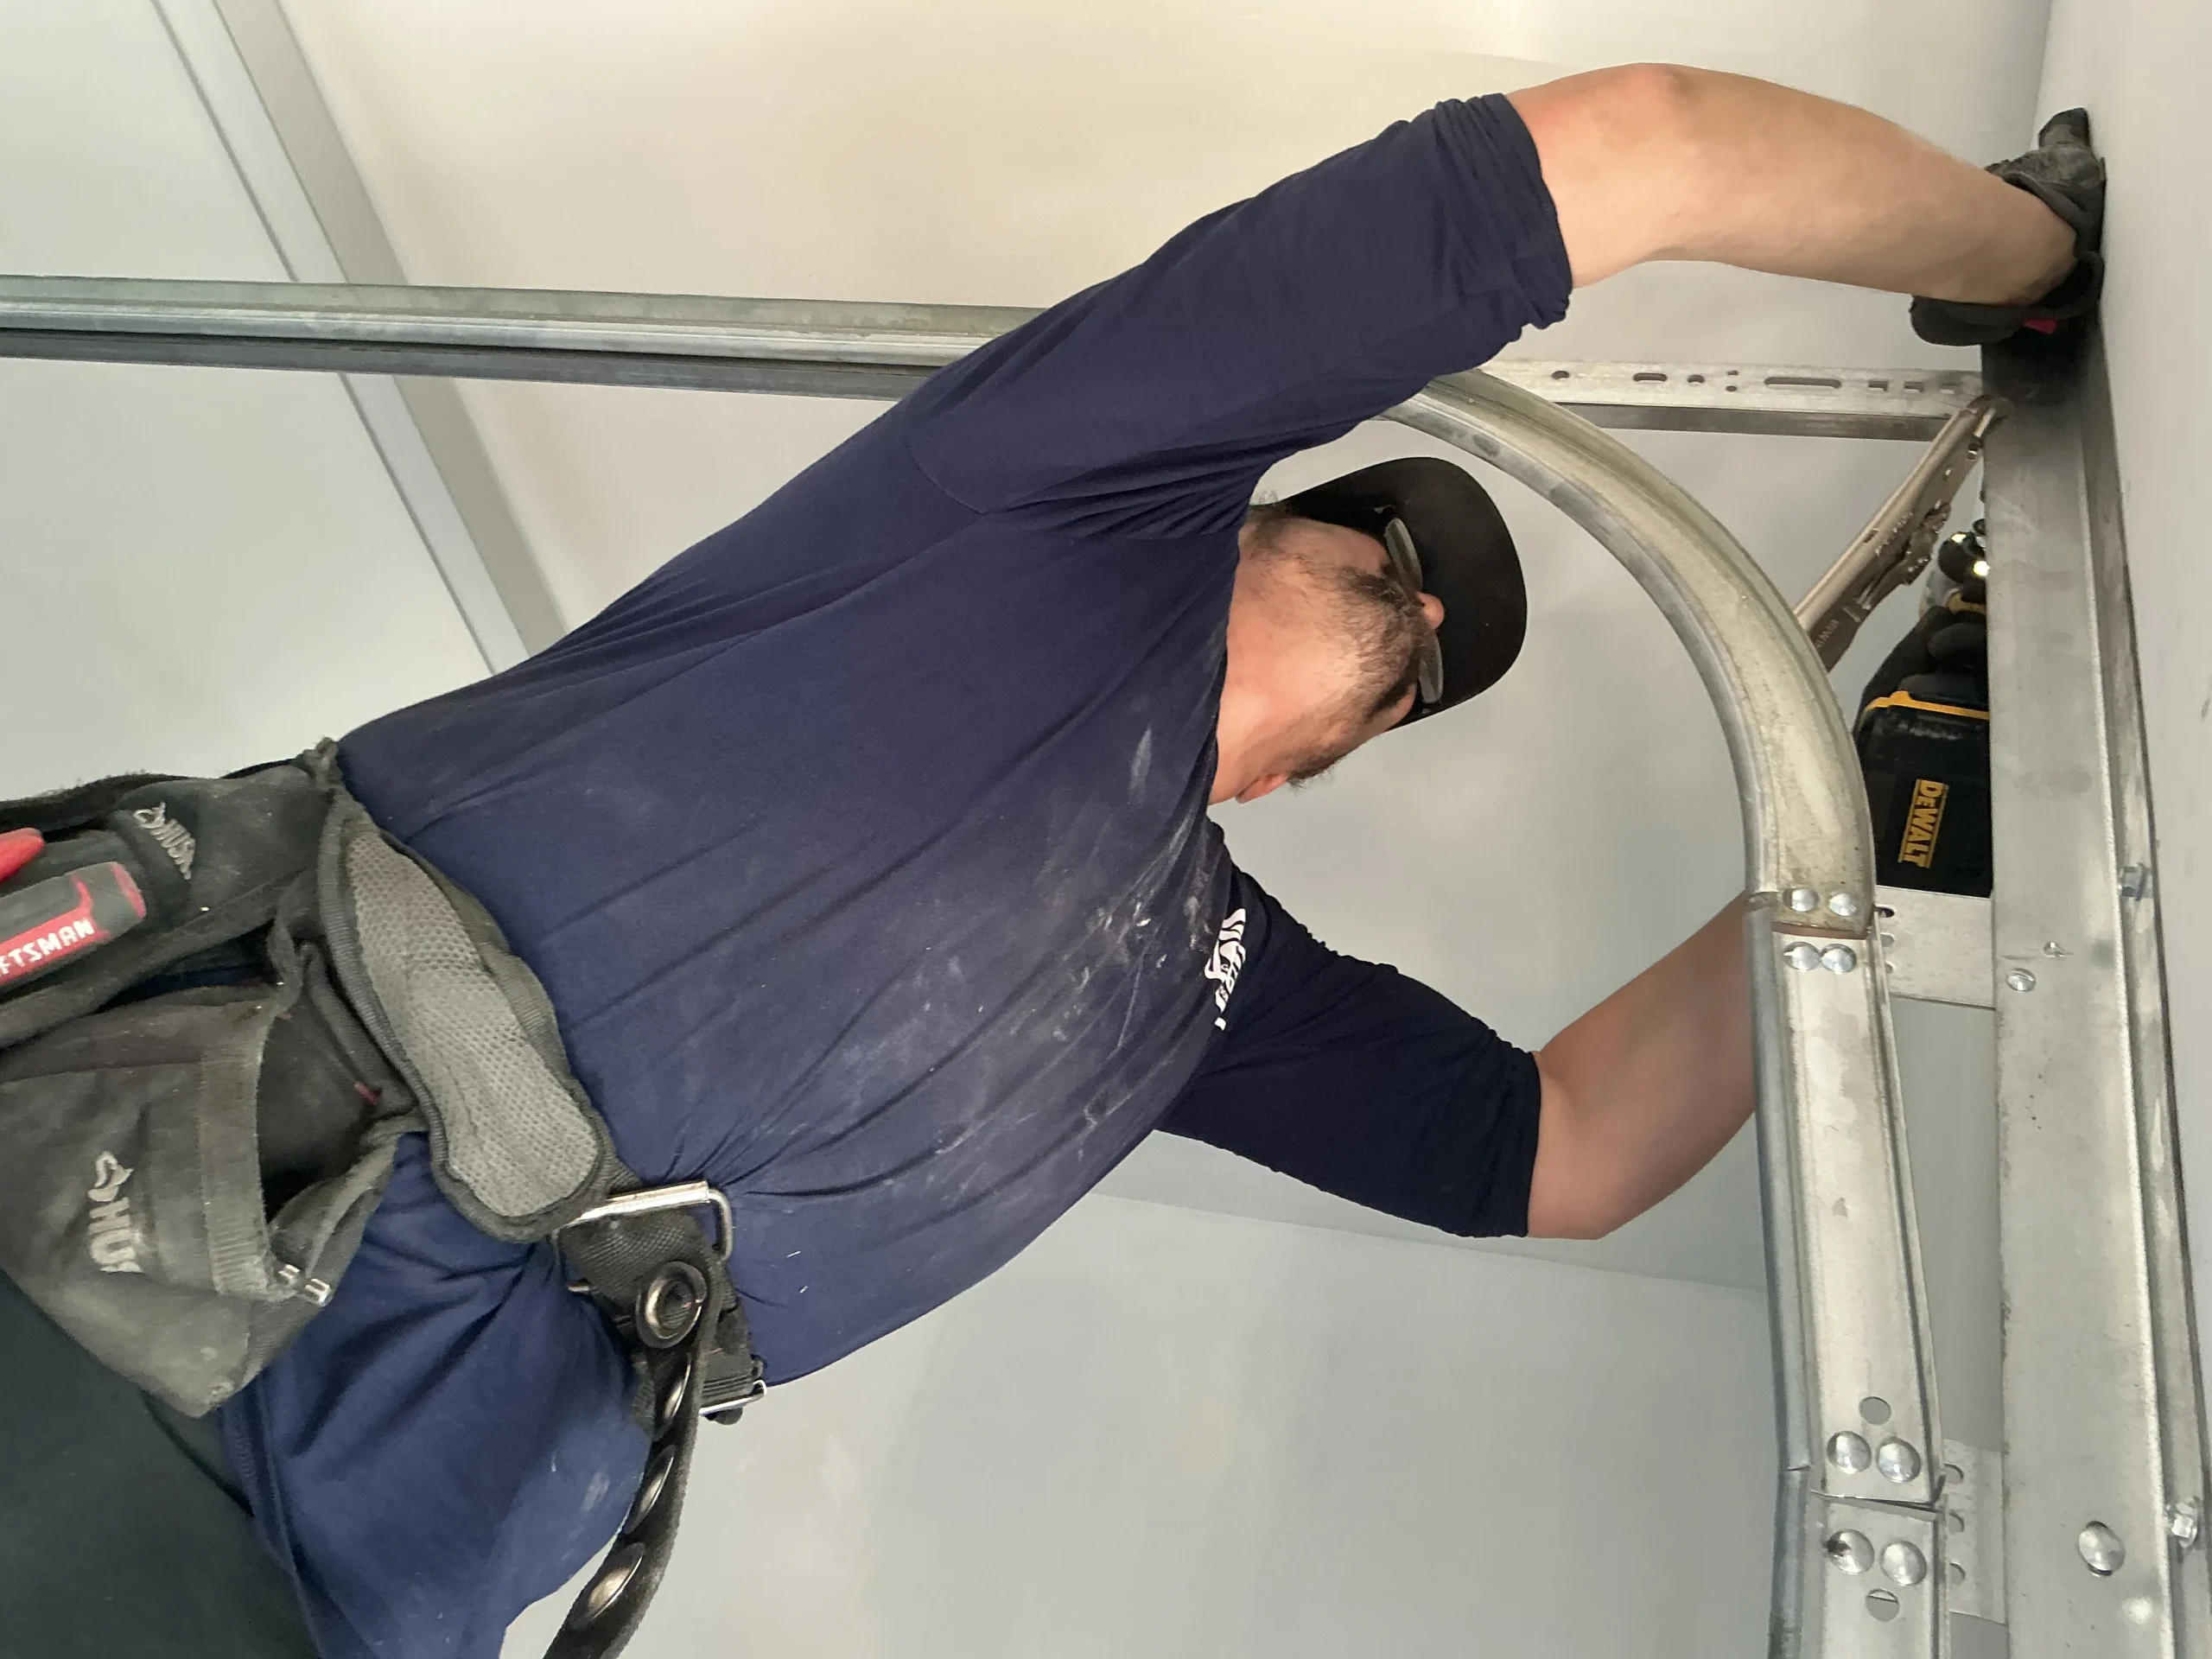






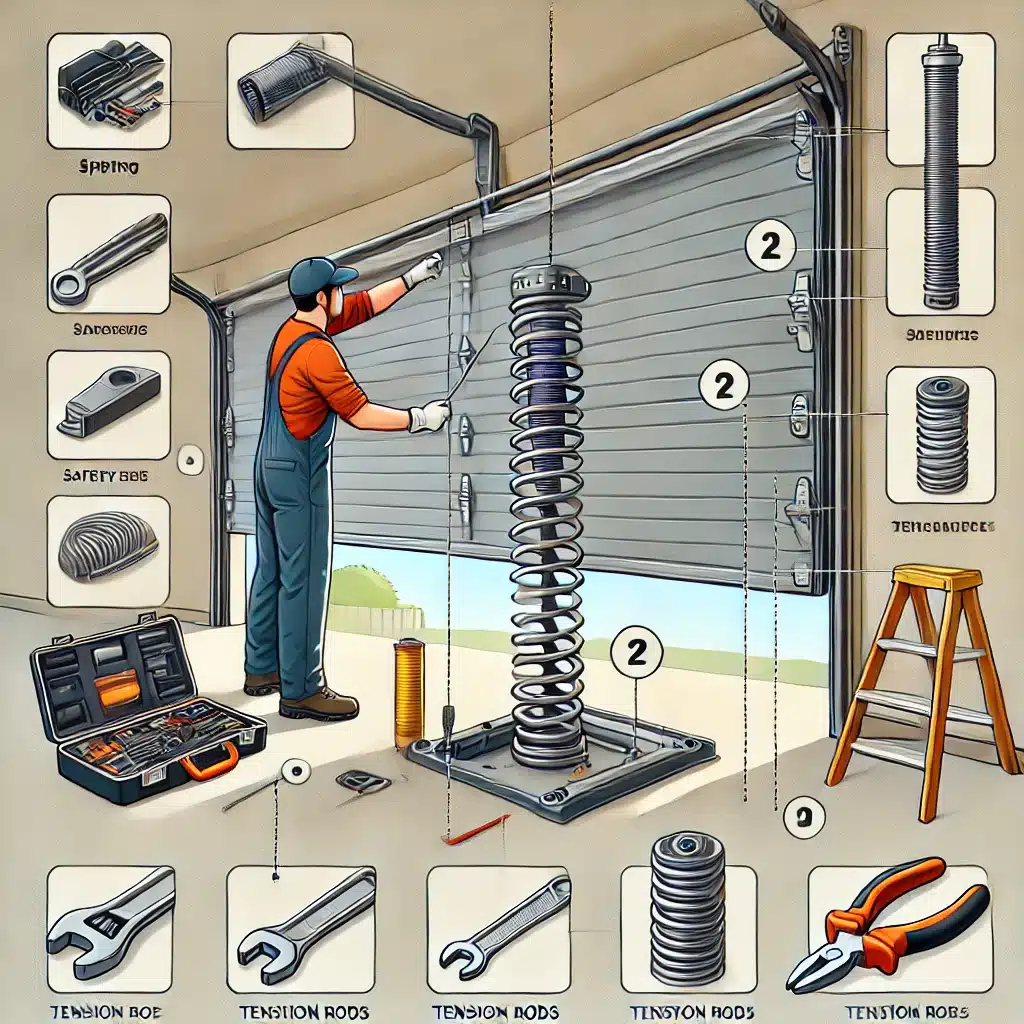
A broken garage door spring is one of the most disruptive things that can happen to your home. One day everything works fine, and the next your door will not budge or slam down with almost no resistance. For many homeowners in Torrance, CA, the first instinct is to look up garage door spring replacement and figure out whether it is something they can handle themselves.
That is a reasonable question, and this guide gives you an honest answer. You will learn how the spring system works, what the replacement process actually involves, what tools and safety precautions are required, and at what point it makes more sense to bring in a trained technician rather than take on the job yourself. Understanding the full picture before you start is the best way to avoid a costly mistake.
Understanding How Garage Door Springs Work Before You Replace Them
Before touching anything, it helps to know what you are dealing with. Garage door springs are the core of the counterbalance system. They store mechanical energy when the door closes and release it when the door opens, making a heavy door feel manageable. Without functioning springs, the opener motor would be doing all the work, which is why a broken spring typically stops the door from operating entirely.
There are two main types used in residential garage doors:
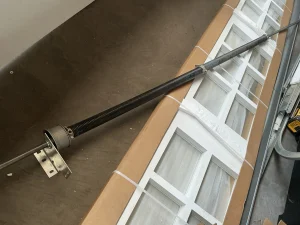
Torsion Springs
- Mounted horizontally on a metal shaft above the center of the door opening
- Wind and unwind to control door movement with precision
- Most common in modern residential doors and generally considered more durable
- Typically last around 10,000 cycles, or roughly 7 to 10 years with average use
- Require specialized winding bars and considerable expertise to replace safely
Extension Springs
- Mounted along the horizontal tracks on either side of the door
- Stretch and contract to create the counterbalance effect
- More common in older homes and lighter single-car garage doors
- Easier to access, but still carries significant tension that must be released carefully
- It should always include safety cables threaded through the spring to contain it if it snaps
Knowing which type you have determines the tools, process, and level of difficulty involved in a new garage door spring replacement. If you are unsure which system your door uses, look above the door opening for a horizontal bar with a coiled spring. If you see springs along the side tracks instead, those are extension springs.
Signs That Confirm Your Spring Needs Replacing
Not every garage door problem points to a spring. Before committing to a replacement, confirm that the spring is actually the issue. Here are the clearest signs:
- A loud bang from the garage, often described as a gunshot sound, followed by a door that will not open, is the most common indicator of a torsion spring breaking
- The door feels extremely heavy when you try to lift it manually after disconnecting the opener
- There is a visible gap or separation in the spring coil when you look at the spring above the door
- One side of the door appears lower than the other, suggesting uneven spring tension
- The opener runs but the door barely moves or only lifts a few inches before stopping
- The cables have gone slack or are piled on the floor, which often happens after a spring breaks
If your door is stopping partway rather than refusing to move entirely, a tension imbalance or a related mechanical issue may be the cause. In that case, How to Fix a Garage Door That Gets Stuck Halfway: Step-by-Step Guide covers the diagnostic steps for that specific situation in detail.
Tools and Materials Needed for a Garage Door Spring Replacement
Having the right tools before starting is not optional. Using the wrong equipment on a high-tension component is one of the leading causes of injury during DIY garage door work. Here is what a proper spring replacement requires:
For Torsion Spring Replacement
- Two steel winding bars (must match the winding cone size, typically 18 inches long)
- Adjustable wrench and socket set
- Locking pliers or C-clamps to secure the door in place
- Ruler or tape measure to confirm spring size
- Safety glasses and work gloves
- Replacement torsion spring with matching specifications (wire diameter, inside diameter, and length)
For Extension Spring Replacement
- Open-end wrenches and pliers
- Sturdy ladder for accessing the tracks
- Replacement extension springs with a matching weight rating and length
- Safety cable, if not already installed
- Safety glasses and work gloves
Never substitute winding bars with screwdrivers, pipes, or other improvised tools. The bars need to fit precisely into the winding cone to maintain control of the spring tension throughout the process. Using anything else dramatically increases the risk of losing control of the spring.
A Realistic Look at the Replacement Process
This section gives you an honest overview of what replacing a garage door spring actually involves, step by step. The goal is not to walk you through every turn of the wrench, but to help you understand the full scope so you can decide whether this is within your skill level.
Torsion Spring Replacement: What the Process Looks Like
- Disconnect the opener and secure the door in the closed position using locking pliers on the track
- Insert the winding bars into the winding cone and carefully unwind the tension from the broken spring before removing any hardware
- Loosen the set screws on the spring and slide it off the torsion bar along with the cables, drums, and end bearing plates if needed
- Slide the new spring into position and secure it to the center bracket
- Reattach the cables to the drums and wind the new spring to the correct number of turns based on door height
- Lubricate the spring coils, test the door balance manually, then reconnect the opener and test operation
Extension Spring Replacement: What the Process Looks Like
- Open the door fully to release tension on the existing springs before beginning
- Disconnect the spring from the track bracket and the pulley system at each end
- Thread the new spring into place and reattach the hooks to the track bracket and pulley
- Thread the safety cable through the new spring before finishing the installation
- Test the door balance manually and reconnect the opener once the door moves evenly
The most critical part of either process is winding or releasing spring tension in a controlled manner. This is where most DIY injuries occur, and where professional training makes a genuine difference in both safety and outcome.
What Can Go Wrong and Why It Matters
Understanding the risks involved in replacing garage door springs is not meant to discourage you. It is meant to help you make a genuinely informed decision. Here are the most common mistakes and what they lead to:
- Using the wrong spring size: A spring that does not match the door’s weight and height will throw off the balance, accelerate wear on the opener, and may cause the door to drop unexpectedly
- Incorrect winding tension: Too few turns leave the door under-tensioned and heavy. Too many puts the system under stress and risks the spring breaking again prematurely
- Skipping the safety cable on extension springs: If a replacement spring snaps without a safety cable, it can fly across the garage at high speed, causing serious damage or injury
- Forgetting to secure the door before unwinding: A door that shifts or drops while tension is being released can cause loss of control over the winding bars
- Replacing only one spring when both are worn: Both springs age at the same rate. Replacing only the broken one often means a second call-out within months when the other fails
According to a safety‑focused overview of garage‑door spring hazards and DIY‑repair risks, a large percentage of garage‑door injuries happen specifically during spring winding and unwinding, and emergency‑room‑level accidents are directly tied to the amount of stored tension in the system.
How to Choose the Right Replacement Spring
Getting the correct replacement spring is just as important as the installation itself. Using the wrong spring is one of the most common and costly mistakes homeowners make when attempting a new garage door spring replacement on their own. Here is what to check:
- Wire diameter: Measure the diameter of the wire used in the coil, not the spring itself. Even a small difference changes the strength and tension significantly
- Inside diameter: This must match the diameter of the torsion bar or the space the spring occupies
- Length of the spring: Measure the full length of the old spring when it is unwound and relaxed
- Wind direction: Torsion springs come in left-wind and right-wind orientations. Installing the wrong one will work against the door instead of with it
- Door weight: Heavier doors, including two-car garage doors common in many Torrance, CA homes, require springs with a higher weight rating
Many spring suppliers and garage door parts stores can help you identify the correct spring if you bring the old one in or provide its measurements. When in doubt, a technician can confirm the right specifications during a service call before any parts are ordered.
Preventive Steps to Extend the Life of Your New Spring
Once a garage door spring job is done, the last thing you want is to face the same problem again within a couple of years. These garage door maintenance habits help your new spring last as long as possible:
- Apply a garage door lubricant to the spring coils every six months. This reduces friction and slows corrosion, especially important in coastal areas like Torrance, CA, where salt air accelerates rust
- Test the door balance every few months by disconnecting the opener and lifting the door to waist height. It should stay in place without assistance
- Avoid slamming the door or letting it drop from height, as the impact adds stress to the spring system over time
- Schedule an annual professional inspection to catch early signs of wear on the spring, cables, and drums before they become a full failure
- If your door gets heavy use, such as opening and closing more than four times a day, consider upgrading to high-cycle springs rated for 25,000 or more cycles
For a broader look at what affects how quickly garage door components wear out and what a full repair visit covers, How Long Does It Take to Fix a Garage Door: Find Out Here walks through repair timelines and what homeowners can expect from a professional service call.
The Angi guide to garage door maintenance also outlines a practical seasonal checklist that homeowners can follow to keep their full garage door system in good working order year‑round.
When Professional Replacement Is the Smarter Choice
There is real value in understanding how to replace garage door springs. It helps you evaluate quotes, ask better questions, and know what a technician is doing when they show up. But knowing the process does not always mean doing it yourself is the right call. Here is when professional service is the more practical and safer option:
- You have a torsion spring system and have not worked with winding bars before. The learning curve on this task carries physical risk that most homeowners are not prepared for on their first attempt
- You do not have the exact replacement spring and are unsure of the specifications. Ordering the wrong part and installing it causes more problems than it solves
- The cables, drums, or end bearings also show wear. A technician can replace everything in one visit rather than leaving you with a partially repaired door
- The door is large, heavy, or custom-built. Non-standard doors require precise spring calculations that are difficult to get right without experience
- You want the work guaranteed. Most professional garage door spring repairs come with a warranty on parts and labor, which a DIY job does not provide
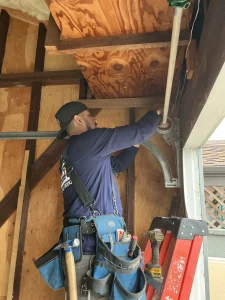
A professional technician typically completes a standard spring replacement in 1 to 2 hours with the right parts on hand. That is often a better use of your time and resources than a multi-hour DIY attempt that carries risk and no safety net.
Make the Right Call Before the Problem Gets Bigger
Replacing a garage door spring is a job that rewards preparation and honest self-assessment. Understanding the type of spring you have, the tools required, the risks involved, and the steps in the process puts you in a much better position, whether you decide to take it on yourself or call someone in. Either way, acting quickly after a spring fails protects the rest of your door system from taking on unnecessary strain.
If you are in Torrance, CA, and need a dependable team to handle the job, G&G Garage Door is ready to help. With the experience and equipment to complete most spring replacements the same day, their technicians ensure your door is properly balanced, safely installed, and built to last. Do not wait for a small spring issue to turn into a full system repair. Contact us today or give us a call to schedule your appointment.